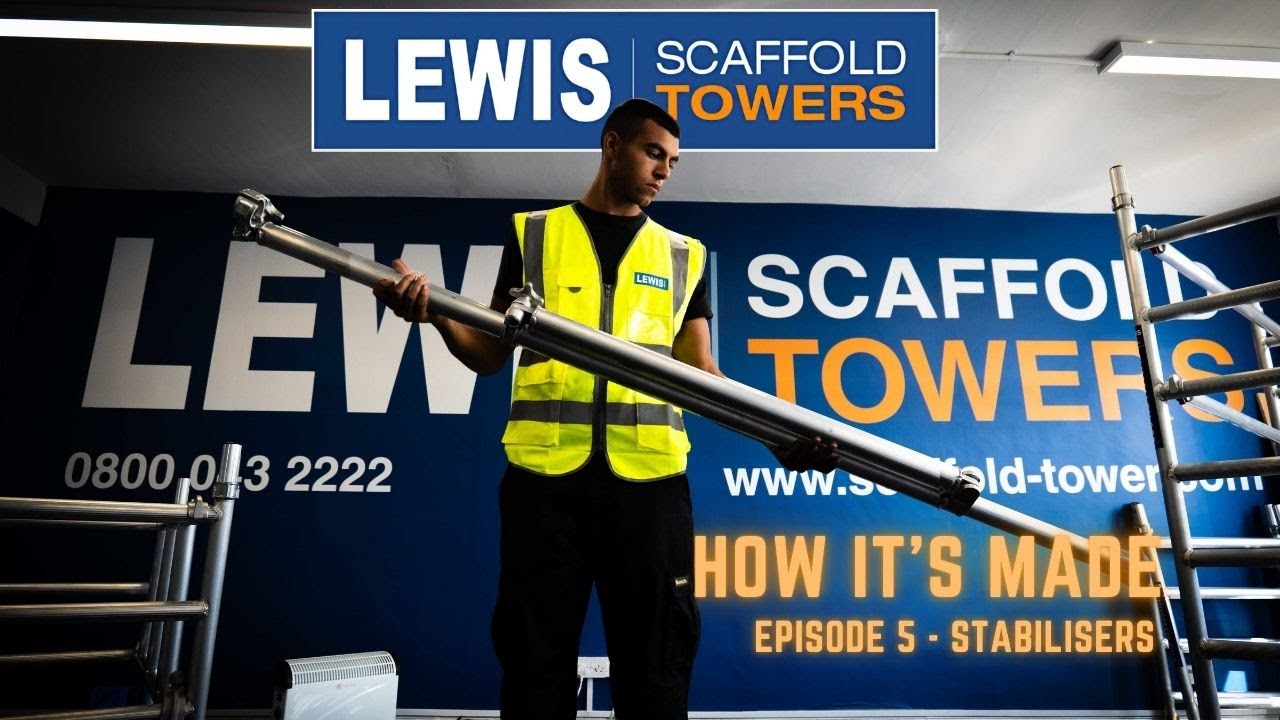
At LEWIS Access, we have three sizes of scaffold stabilisers: standard, adjustable, jumbo, and confined stabiliser. In this article, we’ll briefly describe the process of manufacturing our standard stabiliser.
Table of Contents
Watch the Stabilisers Being Made
The Process of Manufacturing Scaffold Tower Stabilisers
Step 1: Aluminium Tube Preparation
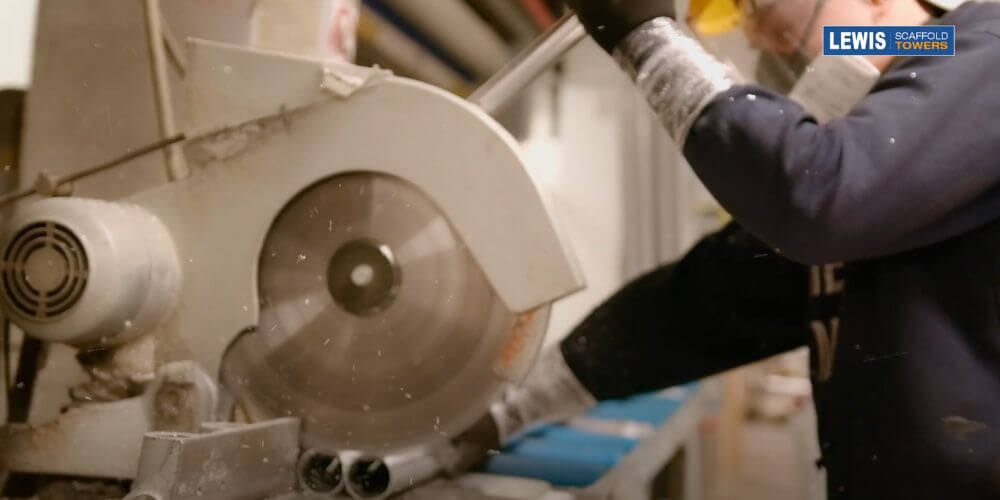
We procure 7.2-metre aluminium tubes, and once delivered, our metalworker then precision-cuts these into 2-metre (2000mm) lengths.
Step 2: Die Casting of Tee Joints and Pivot Joints
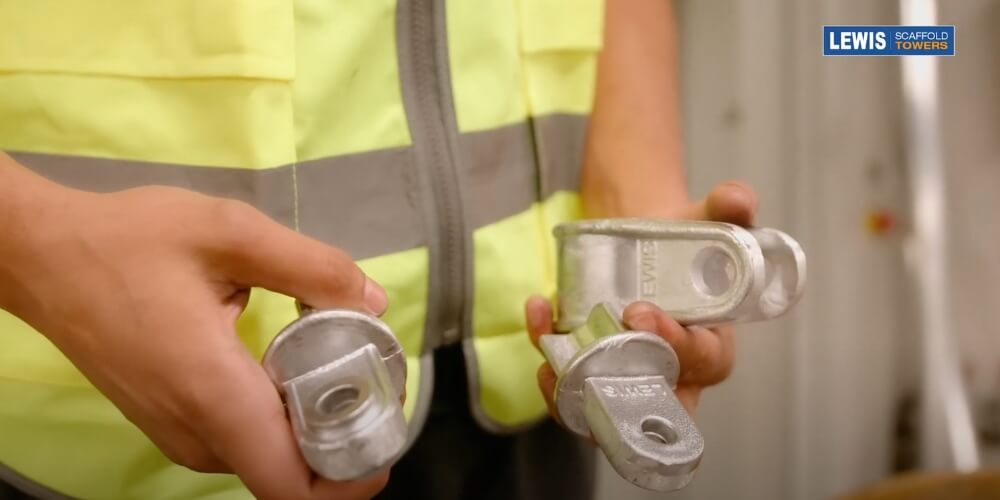
In our foundry, we recycle aluminium cut-offs to die-cast smaller components, such as tee joints and pivot joints.
Step 3: Robotic Welding of a Tee Joint and Pivot Joint
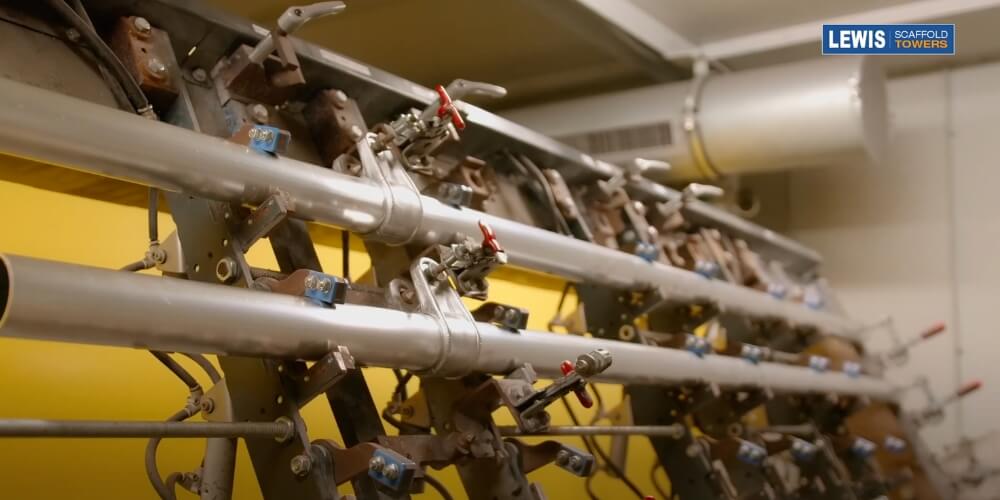
With the 2000mm aluminium tube, a tee, and a pivot joint prepared, we insert them into the jig and lock them into place. It’s time to let the robotic welder do what it does best.
Upon completion, we conduct quality assurance of the weld to ensure complete accuracy every time.
Step 4: Welding of Two Pivot Joints
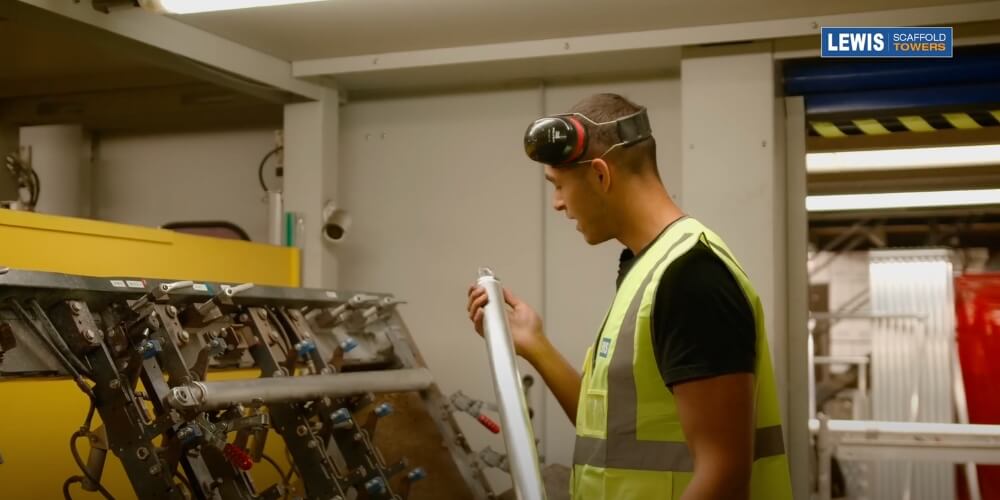
Once the tee and pivot joints are welded to the 2000mm aluminium tube, it’s time to weld two pivot joints to the shorter aluminium tube.
With this tube, we place two pivot points, one on each side of the tube. Similarly, we place it into the jig for the robotic welder, secure it in place, and let it do its work.
Upon completion, an inspection of the welding is required.
Step 5: Interlocking the Tubes
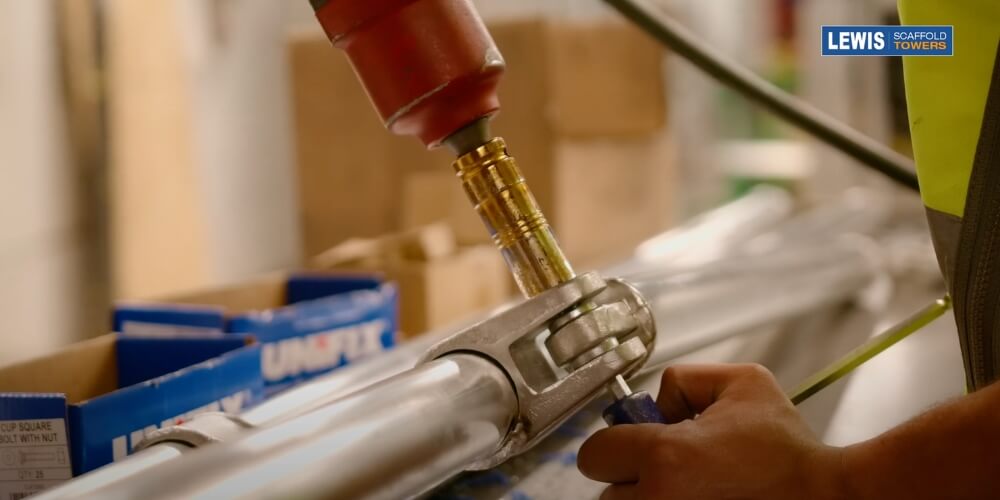
These tubes are now transported to a quieter part of the factory where they are interlocked with the tee joint and pivot joint.
Using a screw, a washer and a nut, these components are joined together.
Applying pressure and friction via the tightening of the nut, it cold-welds or fuses the nut and washer together, making it impossible to loosen without significant damage or breaking them.
Step 6: Installing the Clamps
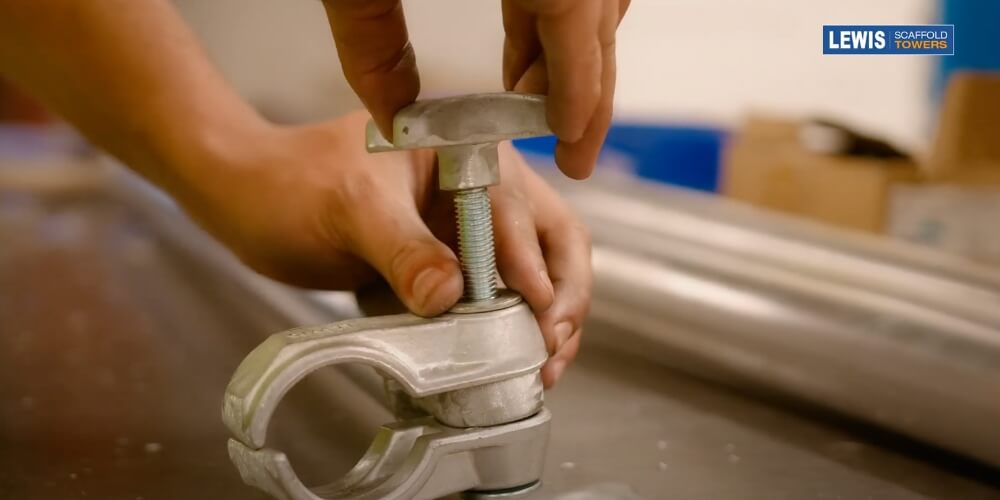
Now that it has been cold welded, it’s time to install the clamps.
We grab a bolt, pop it through the first half of the clamp, then through a pivot point, and attach the second side of the clamp, a washer, and a screw to the palm handle.
We repeat this process on the longer tube.
Step 7: Fabrication, Finishing Touches & Quality Control
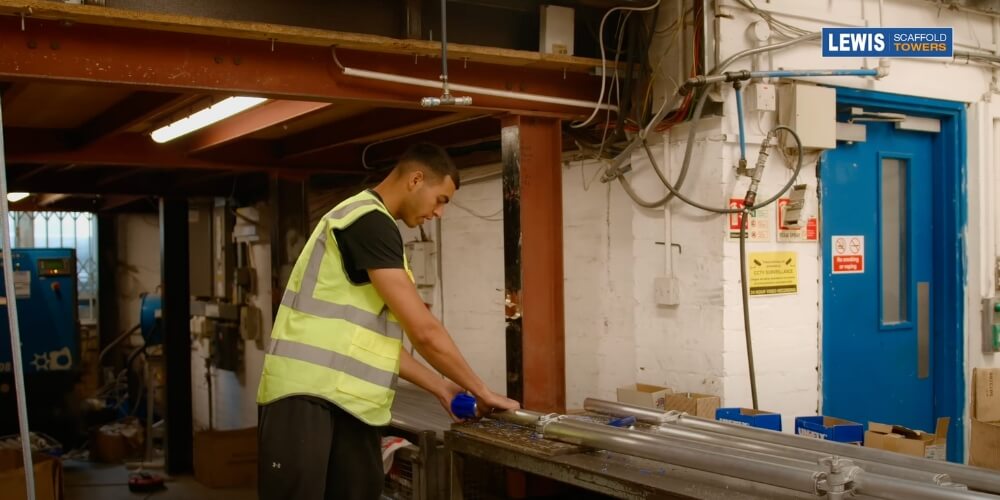
Once that’s installed, the stabiliser goes through fabrication, finishing touches, and quality control.
This is where blue feet are added, where it’ll be drilled and riveted on.
Quality control is used to check the robot because it can make mistakes from time to time, unlike Lewis. A nice quality control sticker is then applied.
Buy Our Stabilisers
You can buy our stabilisers by clicking here.


