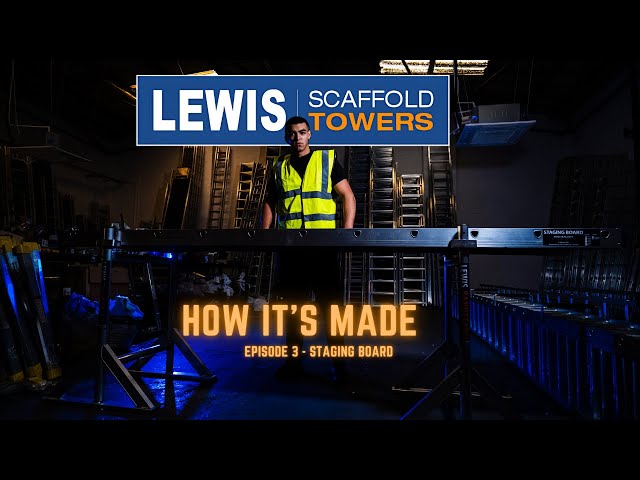
Staging boards are an overengineered product. It has the perfect strength-to-weight ratio; it’s lightweight and super strong.
At LEWIS Access, our staging board integrate with our Bandstand Scaffolds.
Before we explain how it’s made, it’s important to note that we have eight different size variations of the staging boards, starting from 1,800 mm through to 7,200 mm in length.
In this example, we manufacture our 3,600 mm (3.6 metres) staging board.
Table of Contents
Process from Start to Finish in Video Format
Step 1: Punch It
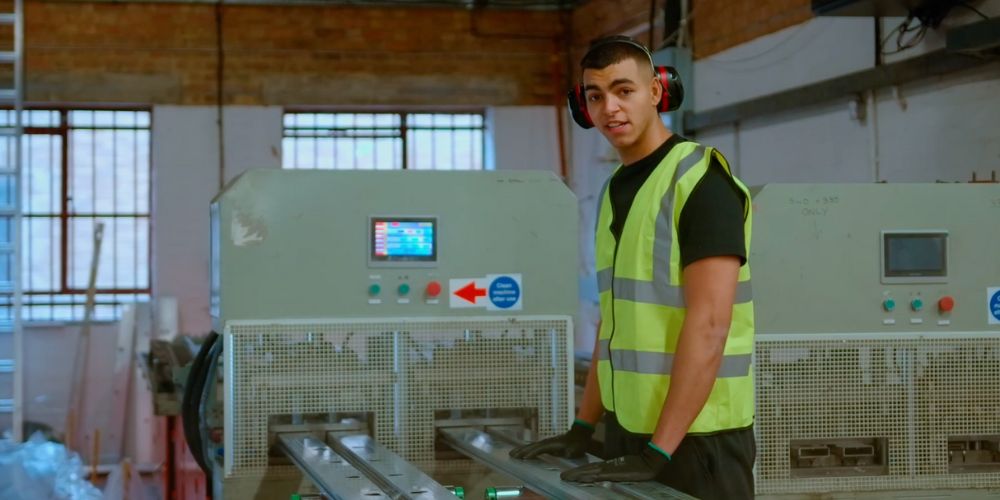
The first part of the process begins by placing four stiles, each measuring 3,600 mm, on the bed of the machine. If we’re manufacturing our largest staging board, we’ll use the relevant raw material size instead.
Once it’s on the bed of the machine, our operator inputs the data into the machine, and it initiates the punching process, similar to a hole puncher used for paper.
Once punched, the stiles are laid on the bed of the next machine, and before we use it, we must prepare our rungs.
Step 2: Cutting the Rungs
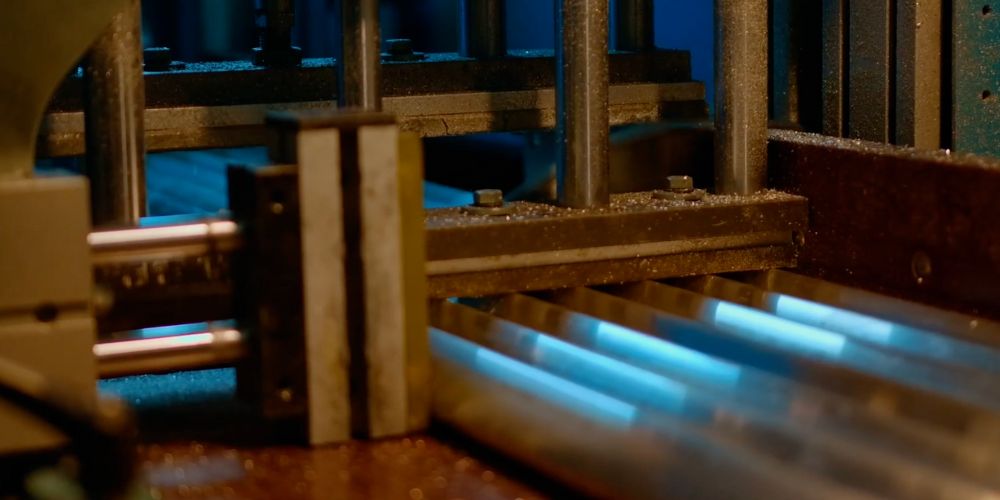
To cut the rungs (horizontal bars that you’d usually step on when climbing a ladder), we use our cutting machine, which we referred to in one of our recent posts, Adjustable Legs – How It’s Made.
This process starts by placing the raw material for the rungs on the bed of the machine, then pushing it against the machine’s centre point.
Our operator inputs the data so that the machine cuts each rung at 612 mm.
Once cut to size, we take it to the riveting machine.
Step 3: Inserting into Stiles on the Riveting Machine
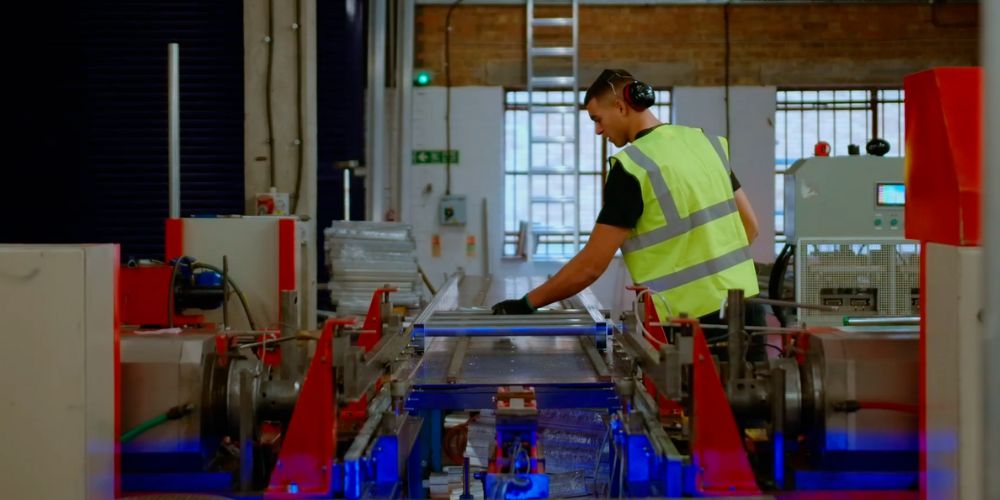
To start the process, we manually insert each rung into the stiles from one side.
Then, we install a safety mechanism at the end of the stile to prevent vibrations from knocking the rungs out of position.
Step 4: Quality Assurance
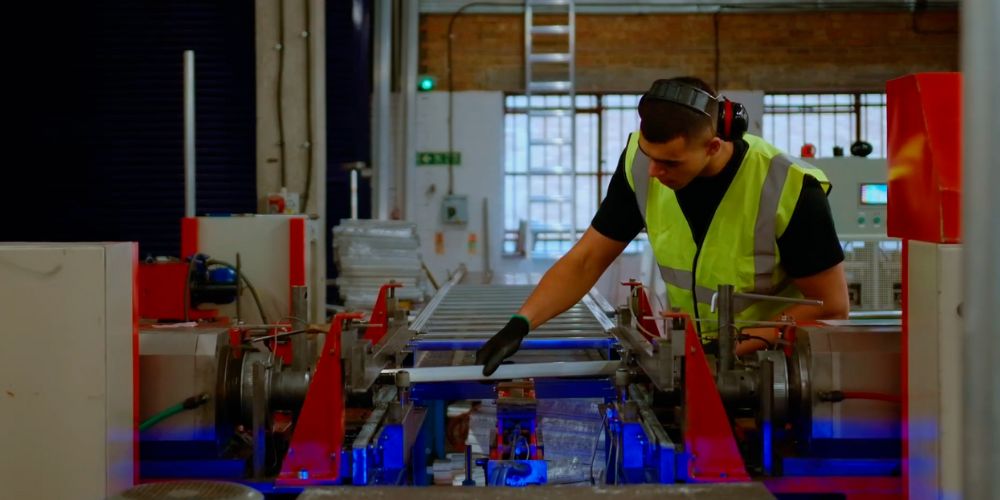
Before the unriveted staging board is ready to be fed into the machine, we must ensure the machine is calibrated correctly.
As mentioned above, the rungs are 612 mm in length, but the staging board width is 600 mm.
This allows us to have an excess amount of rung on each end of the stile, approximately 6 mm.
Step 5: Riveting the Rungs to Stiles
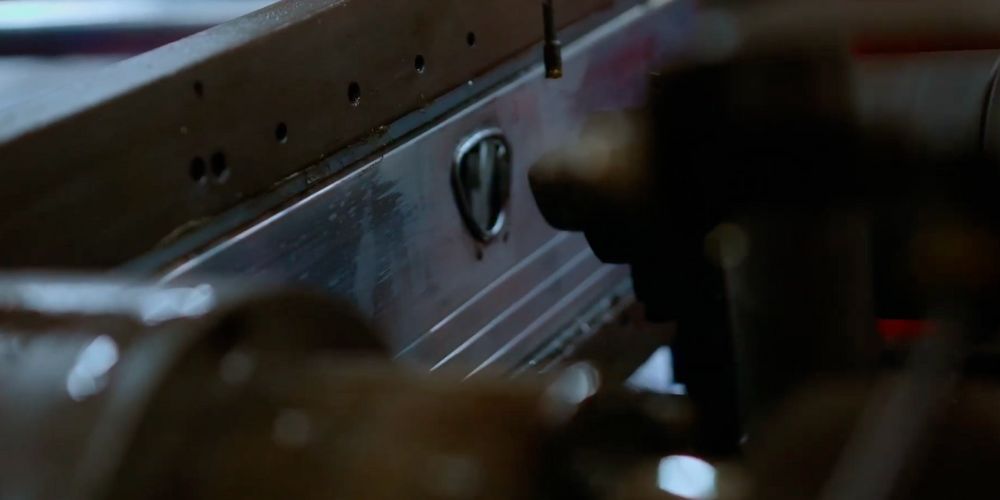
At this point, the riveting machine rivets the ends of the rungs to the stiles.
This process securely fastens the rungs to the stiles.
It creates a robust and long-lasting connection that resists vibrations and repeated use, as well as bears significant loads of up to 275kg, unlike screws, for instance.
Step 6: Quality Control
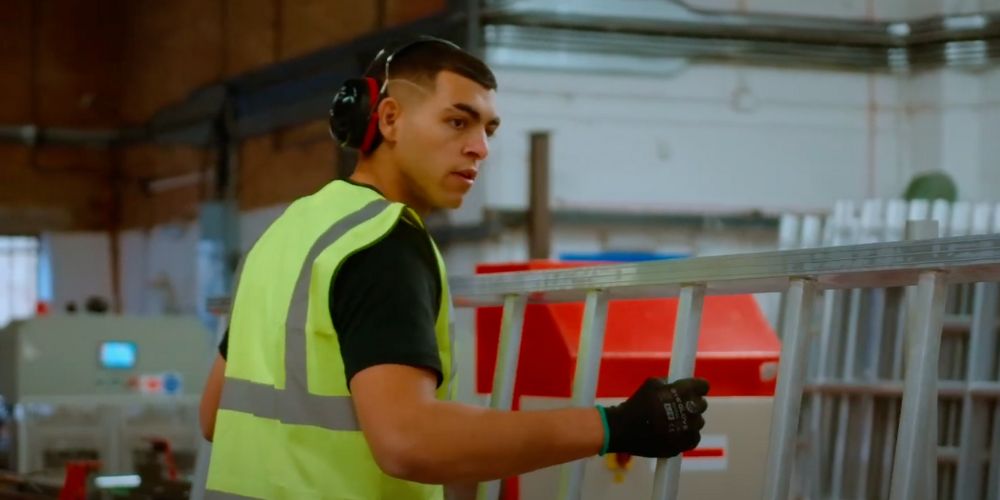
Once completed, the operator manually checks that each rung has been folded over by the riveting machine within the specified tolerance.
Step 7: Finishing Touches
Once it passes quality control, wood is riveted to the frame. Then, caps and stickers are added.
Wrapping it Up
The manufacturing process of our staging boards is a precise, multi-step procedure that ensures the perfect strength-to-weight ratio. From the initial punching of the stiles to the cutting and riveting of the rungs, each step is carefully executed to create a lightweight yet super-strong product. Our staging boards, available in eight different sizes, are designed to integrate seamlessly with our bandstands, forming part of our comprehensive staging and bandstand system. After passing through rigorous quality assurance and control checks, the staging boards are finished with wood rivets, caps, and stickers, ready for use. The result is a durable and reliable staging board that can support up to 275kg. Buy our staging boards today, which conform to BS 2037.


